-
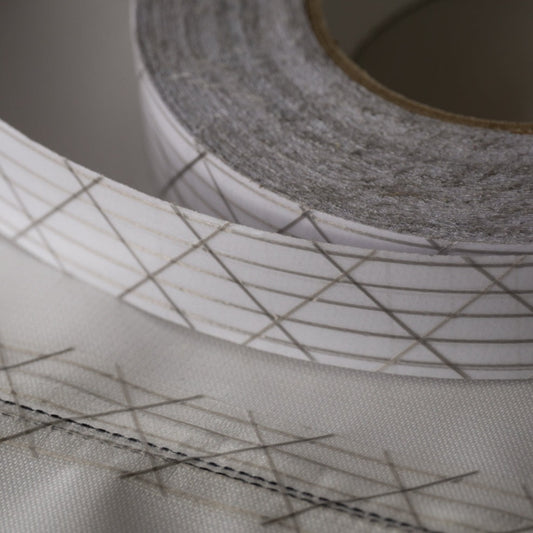
1.25 Inch, UltraTNT™ PSA Cover Tape Made by Challenge (Sold per Yard)
Regular Price $2.07 USDRegular PriceUnit Price per -
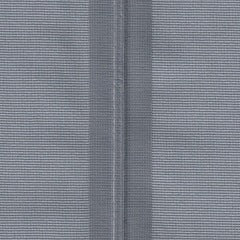
MELCO™ Seam sealing tape for 3-layer waterproof breathable fabrics (Sold per Meter)
Regular Price $3.25 USDRegular PriceUnit Price per -
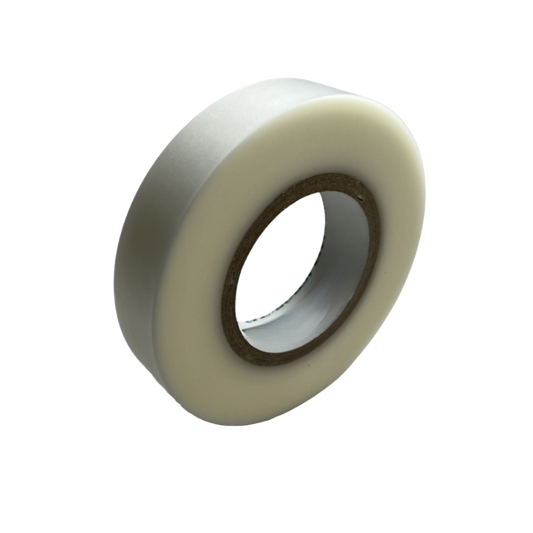
MELCO™ Seam sealing tape for 2-layer fabrics (Sold per Meter)
Regular Price $2.89 USDRegular PriceUnit Price per -
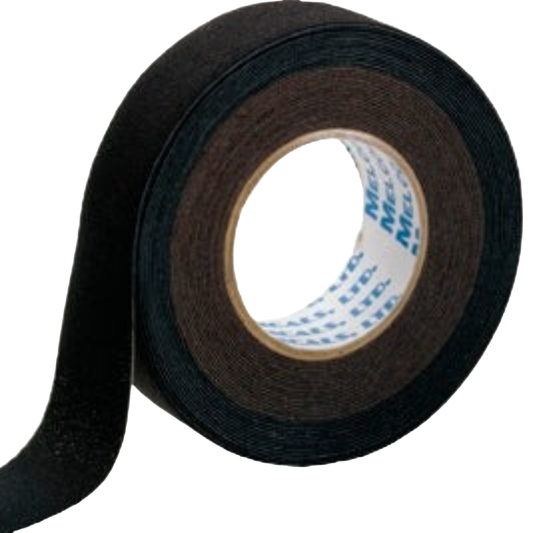
MELCO™ Seam sealing tape for neoprene fabrics (Sold per Meter)
Regular Price $4.99 USDRegular PriceUnit Price per -
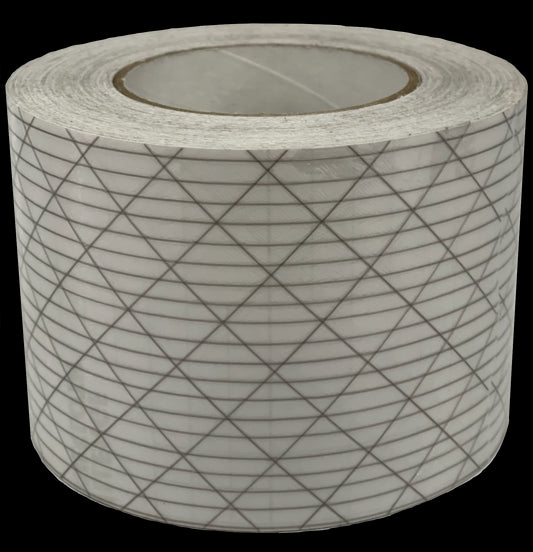
4 Inch, UltraTNT™ PSA Cover Tape Made by Challenge (Sold per Yard)
Regular Price $6.23 USDRegular PriceUnit Price per